Here we will go over how to deploy the AKS cluster. And gain some hands-on experience,
Step-1
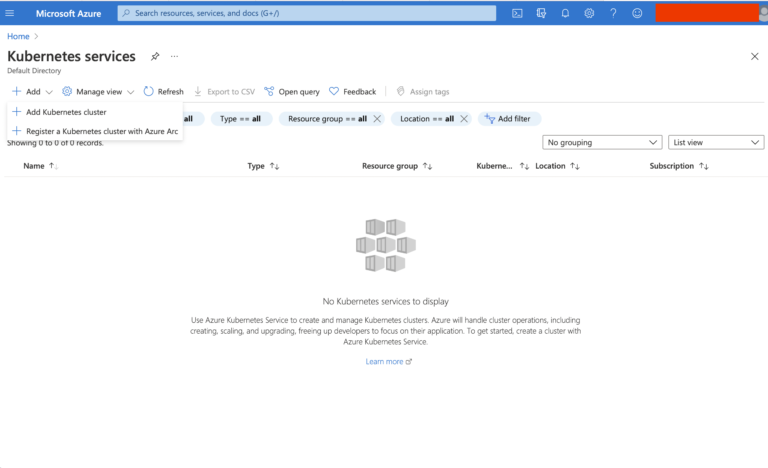
Register and sign in to Azure web Portal. You will get the home page as below.
Select Kubernetes Services. If you do not see the `Kubernetes Services` icon, type AKS in the `Search` bar to get it.
Step-2
Since we do not have any clusters created yet, we get an empty listing here. Click `Add` ->
`Add Kubernetes Cluster` to deploy a new AKS cluster.
Step-3
Leave the default for `Azure Subscription`, and create a new `Resource Group`. These two parameters are used for billing purpose. Input a name for the `Kubernetes cluster name` and leave the defaults for other parameters. Optionally you can set the `Node count` as well.
Click on `Next: Node pools` button at the bottom of the screen.
Step-4
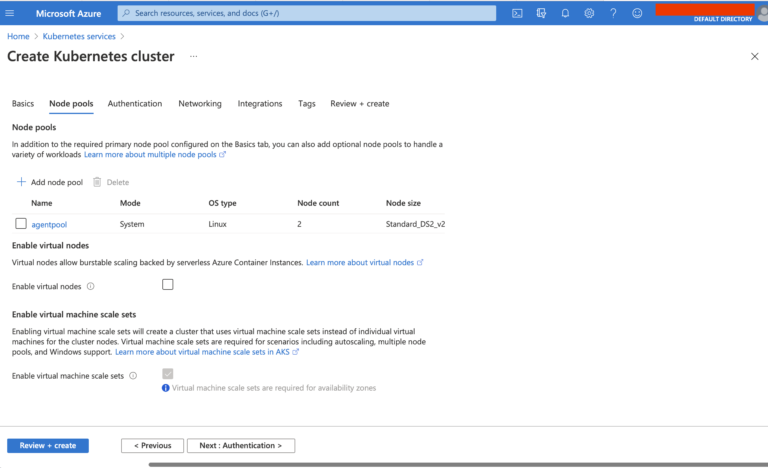
You can add more node pools to the cluster here. However, let’s proceed with the default
`system node pool` as we can add node pools later if required.
Leave all other parameters in their default values and click on `Review + Create`.
Step-5
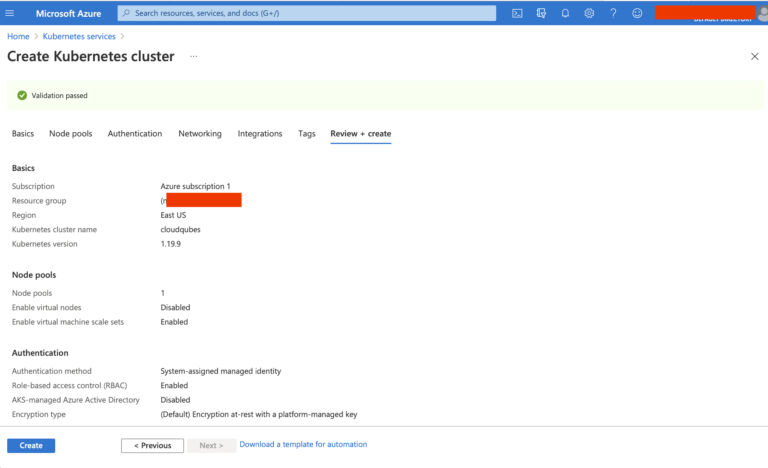
Azure will validate the input parameters at this point. Since all our inputs are fine we get
`Validation passed` notification.
Click on `Create` button at the bottom of the screen.
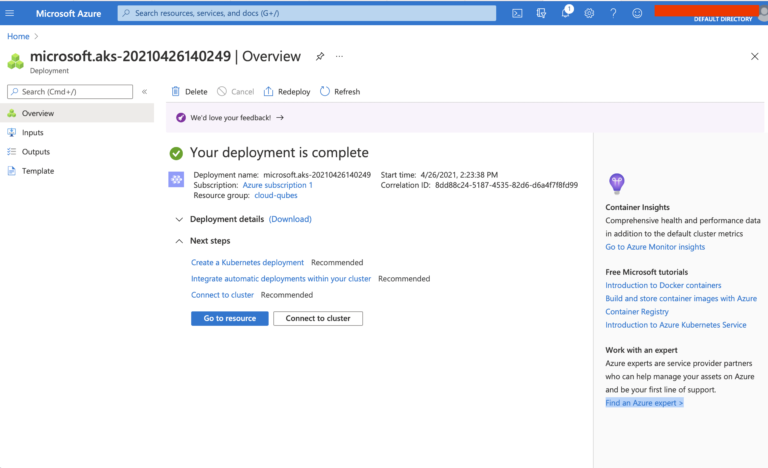
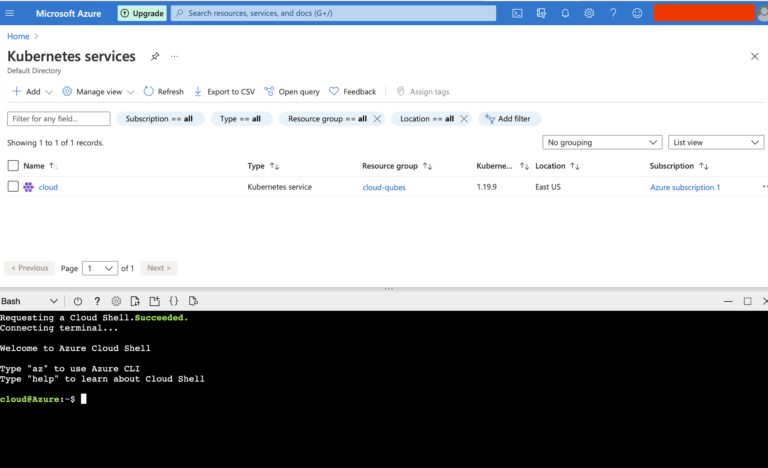
AKS will take about 4-5 minutes to create the cluster. After the cluster is created, you will get this output.
Step-6
Click on the `Cloud Shell` icon, right next to the `Search` bar to connect to the cluster. If it’s the first time you are using the `Cloud Shell` you would be prompted to create a storage, and then you will be presented with a shell-like this.
Type in this command with the `resource-group` and `name` field values replaced with the appropriate values for your AKS cluster, to sign in to the cluster from `Cloud Shell`.
az aks get-credentials –resource-group cloud-qubes –name cloudqubes
Once signed in, you can use `kubectl` tool to connect to the cluster, and print node information.
kubectl get nodes
Conclusion
In this article I have introduced the concepts of AKS and also created one AKS cluster using the web portal. The AKS cluster is ready now for deploying workloads. While I have used the Azure web portal for creating the AKS cluster, you can do the same with Azure CLI as well.